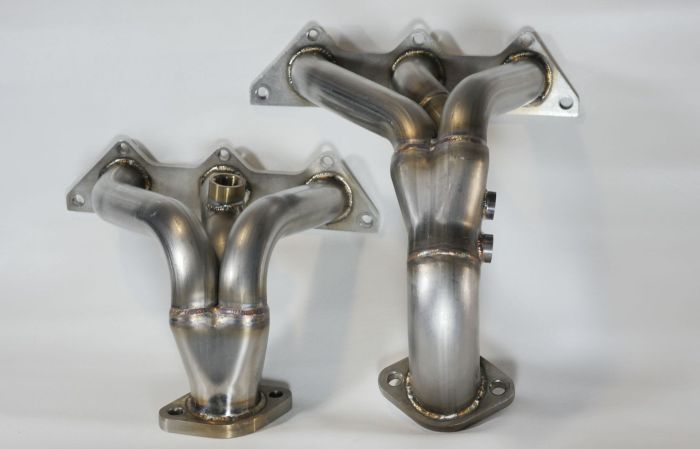
RRE Competition Stainless Steel Race Headers Eclipse GT V6
$660 plus $55 shipping within the lower 48 states. For Canada or other locations email the shop roadraceengineering _at_ gmail dot com with your full contact info and full shipping address.
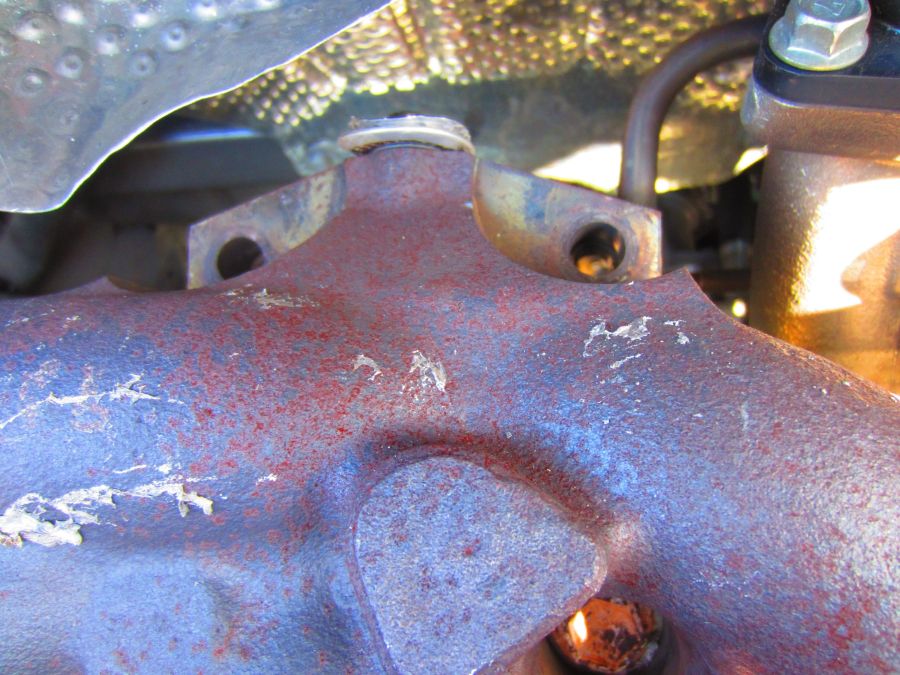
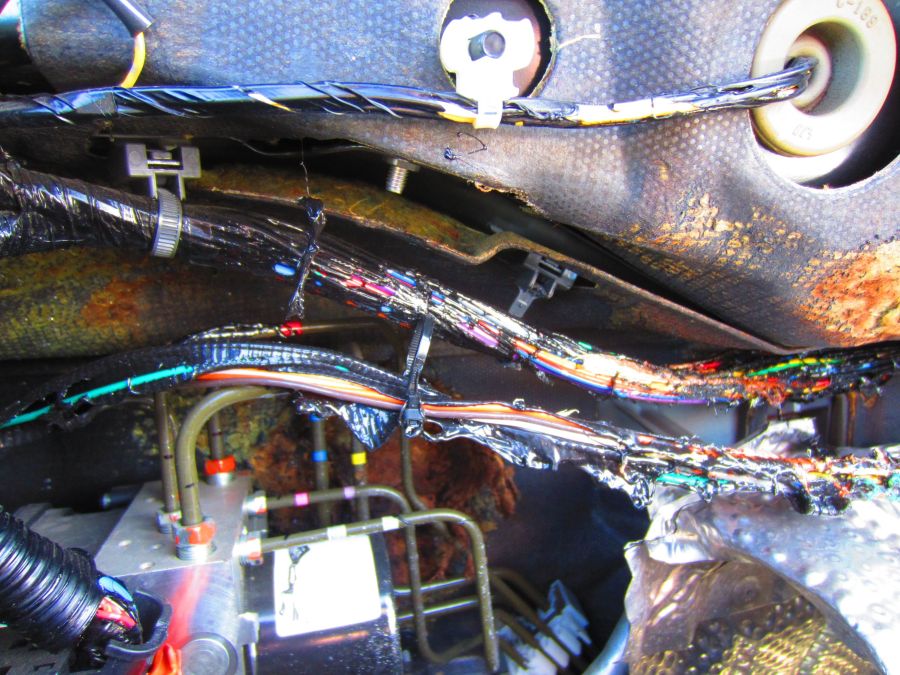
On the Eclipse GT, the front header is fairly straight forward. Access is great, nothing too difficult for a weekend warrior. The rear header… good luck :-P It isnt so much that the RRE header is difficult to install, it is that the rear stock exhaust manifold is very difficult to get out of there once removed. If you live where they salt the roads, be prepared to deal with lots of broken bolts and stuck threads.
Start with soaking all the nuts and bolts with a penetrating lubricant the night before. Something along the lines of Lucas Tool Box Buddy, PB Blaster or WD-40 will to the trick. With all undercar bolts and nuts, especially with exhaust bolts, much care and respect is required. Even with everything soaked well, slow and steady works best. Dont use power tools. You want to slowly remove each nut or bolt while feeling for if it is getting stuck. If something galls up or starts to seize by feeling tight after breaking it loose, stop immediately and spray more lube on the thread. Then go back tight a bit until it feels free again. Spray more lube. then try loosening it again. Keep working it back and forth with out forcing things too much. Once you really gall up the threads, you can be in a big mess. THis goes double for the O2 sensor removal. Crack them loose and work them slowly out. if they tighten up at all, stop, lube and reverse. Lube and repeat.
Unplug the O2 sensor wires. You can unbolt the stock Y Pipe fairly easily. Unbolt the front header from the cylinder head. Note which sensors plugged into where. Were they the pre cat sensors or post cat sensors. Only the post cat sensors will get threaded into the spacers. Use your cell phone camera as you go to make notes of things.
The rear header is pretty difficult to install. Well… actually it is that the rear exhaust manifold and cat assy is very difficult to remove from the car. It is in an awkward location to begin with. Then once you do get it unbolted, it does not fit out through the tight spaces well at all. The passenger front wheel and axle need to be removed to make some space for the stock manifold to come out. Even then, it is a tricky wiggle and rotation to get out of the hole. A few people give up and chop it into two pieces to get it out of there :-P. But that makes going back to stock impossible. Once out, the RRE rear header easily fits in there.
The O2 sensors that were originally after the pre cats will get installed with the spacers. The O2 sensors that were originally before the pre cats and closer to the cylinder heads will get installed directly into the new header.
Here is a pic of the hardware and gasket kit that we supply with the headers currently.
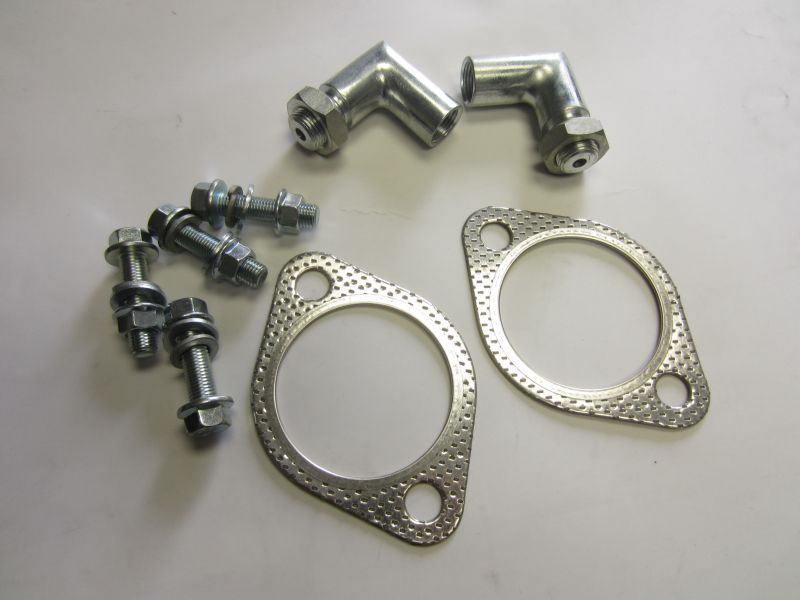
(4) 10mm nuts
(4) 10mm Bolts
(4) 10mm washers
(4) 10mm Lock Washers
(2) 2 bolt composite fire ring gaskets (to Y Pipe)
(2) 90 degree O2 Sensor Spacers
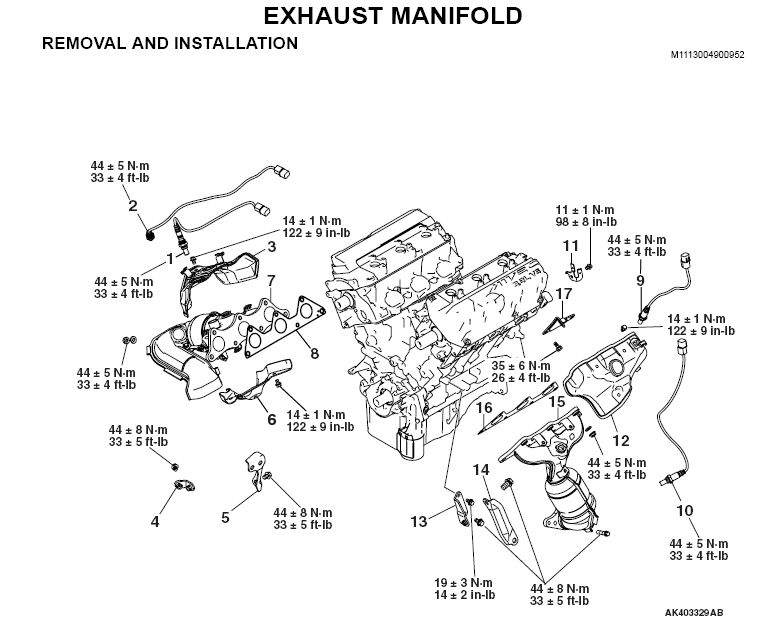
Install the headers, reusing the factory gasket to the cylinder heads is fine. Use the new supplied gaskets to the Y pipe. Tighten all the bolts, torque settings are included here at the end if you are into that.
It does not matter which O2 sensor goes in which location in the header. There is no longer a pre cat to be in front of or behind of. But the sensor that was after the cat gets a spacer (the one with the black wire cover) needs to be the one that is bolted into the spacer.
Smog-
These headers eliminate the front pre-catalytic converters. They are not for use on public highways in the USA. The Eclipse GT V6 motors are are popular with various front wheel drive dirt circle track race classes so that is what they are intended for. You can still pass a tail pipe inspection with the main center cat in place if that is what your race class requires.
Noise-
These headers will increase the exhaust noise considerably. It is a good sound. But it is definitely louder. It is even noticeably louder with a stock muffler. If you have a stock center cat and a straight through muffler (think Magnaflow) it will be sporty loud, think Mustang rumble) but livable. The younger you are, the more you will like it J If you remove the center main cat, things get super loud, think open race car exhaust sound. Check with your sanctioning body for sound level requirements.
O2 Sensors and Spacers-
There are Oxygen sensors (O2 sensors) that need to be transferred to the new headers from the old manifolds. If you do that part wrong or upside down somehow a little yellow light will come on. If you drop or bang on the O2 sensors too much it can damage them. If you get WD-40 or anti-seize contamination in them, it will damage them. But then again that little yellow light comes on for nothing or even something little like leaving the gas cap a little loose, its sole existence is to nag you about potential smog issues. The yellow light isn’t all that scary to us, but it seems to horrify some people.
With the current 90 degree spacers that we supply, about 1 out of 20 people get a SES light and we help them deal with it as best we can. If that possibility disturbs you then headers are not for you. We will not be redesigning anything. We have done all that is reasonably possible to make a little money selling them and still have an affordable product built in the USA. We are happy with the balance that we have struck.
This simple OBD 2 code reader works well and only costs about $20 from Amazon
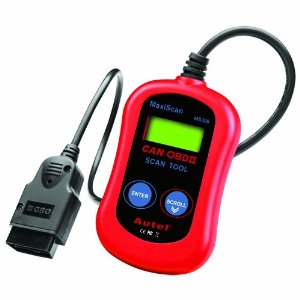
IF the light does come on usually the hole in the spacer needs to be drilled out a little bit. Just a little bit bigger at a time. It is easy to make them bigger, very difficult to make them smaller
We found the difference between cars is whether or not they have a main cat after spacers and how restrictive the exhaust system is. Cars with totally free flowing low back pressure systems need a bigger hole. More restrictive systems need a smaller hole. You want to read out the actual code before modifying the spacer.
The spacer is trying to trick the ECU into thinking that the cat cleaned things up some (but not too much). More exhaust system back pressure or less will require playing with the size of the hole in the spacer and also the volume of the spacer. No one spacer works for every car. It is a black art and takes some fiddling and paying attention to what code and reacting accordingly.
But seriously, these are for race cars only and you shouldn’t be complaining about a little yellow light. Why do you even have the dash in there on your race car?
Factory Parts Drawings:
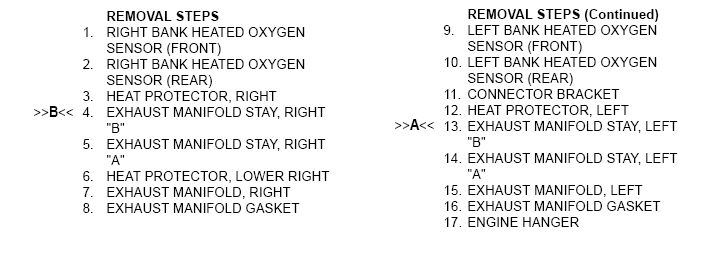
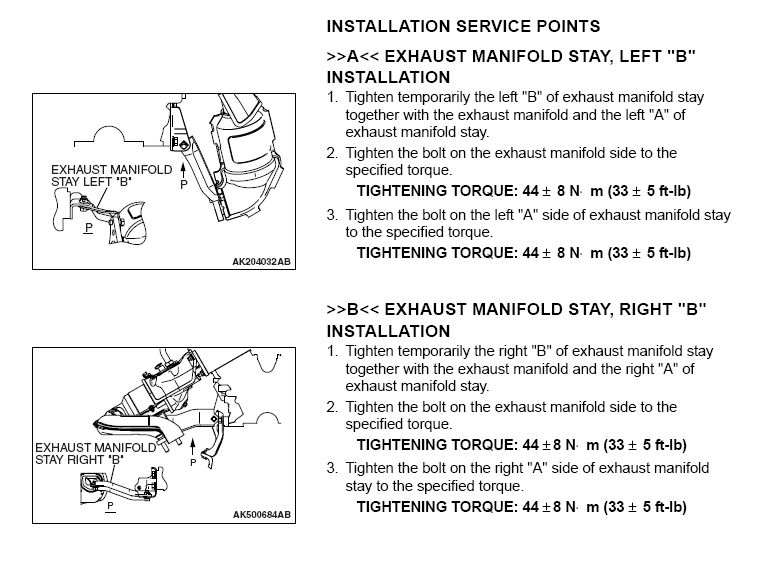
Torque Numbers
